The supporting media (p2) of a presentation should augment and illustrate the story. It’s not just about pretty pictures. (and it’s NOT about clip art either, but you knew that.) The design of your supporting media should add function to the overall presentation without becoming the script.
There are numerous other posts on the nature and value of images already in the blog that can be found on this link.
A few simple tips to make significant improvements.
1.Bleed the image off the edge of the slide. Let it fill the whole screen. White “framing” adds nothing. Make sure your picture is of good enough quality to enlarge to fill the screen. If not then use a black “frame” as this will merge with the darkness beyond your screen when presenting.
2.Composition of an image and hence “meaning” can be changed by judicious cropping and zoom.
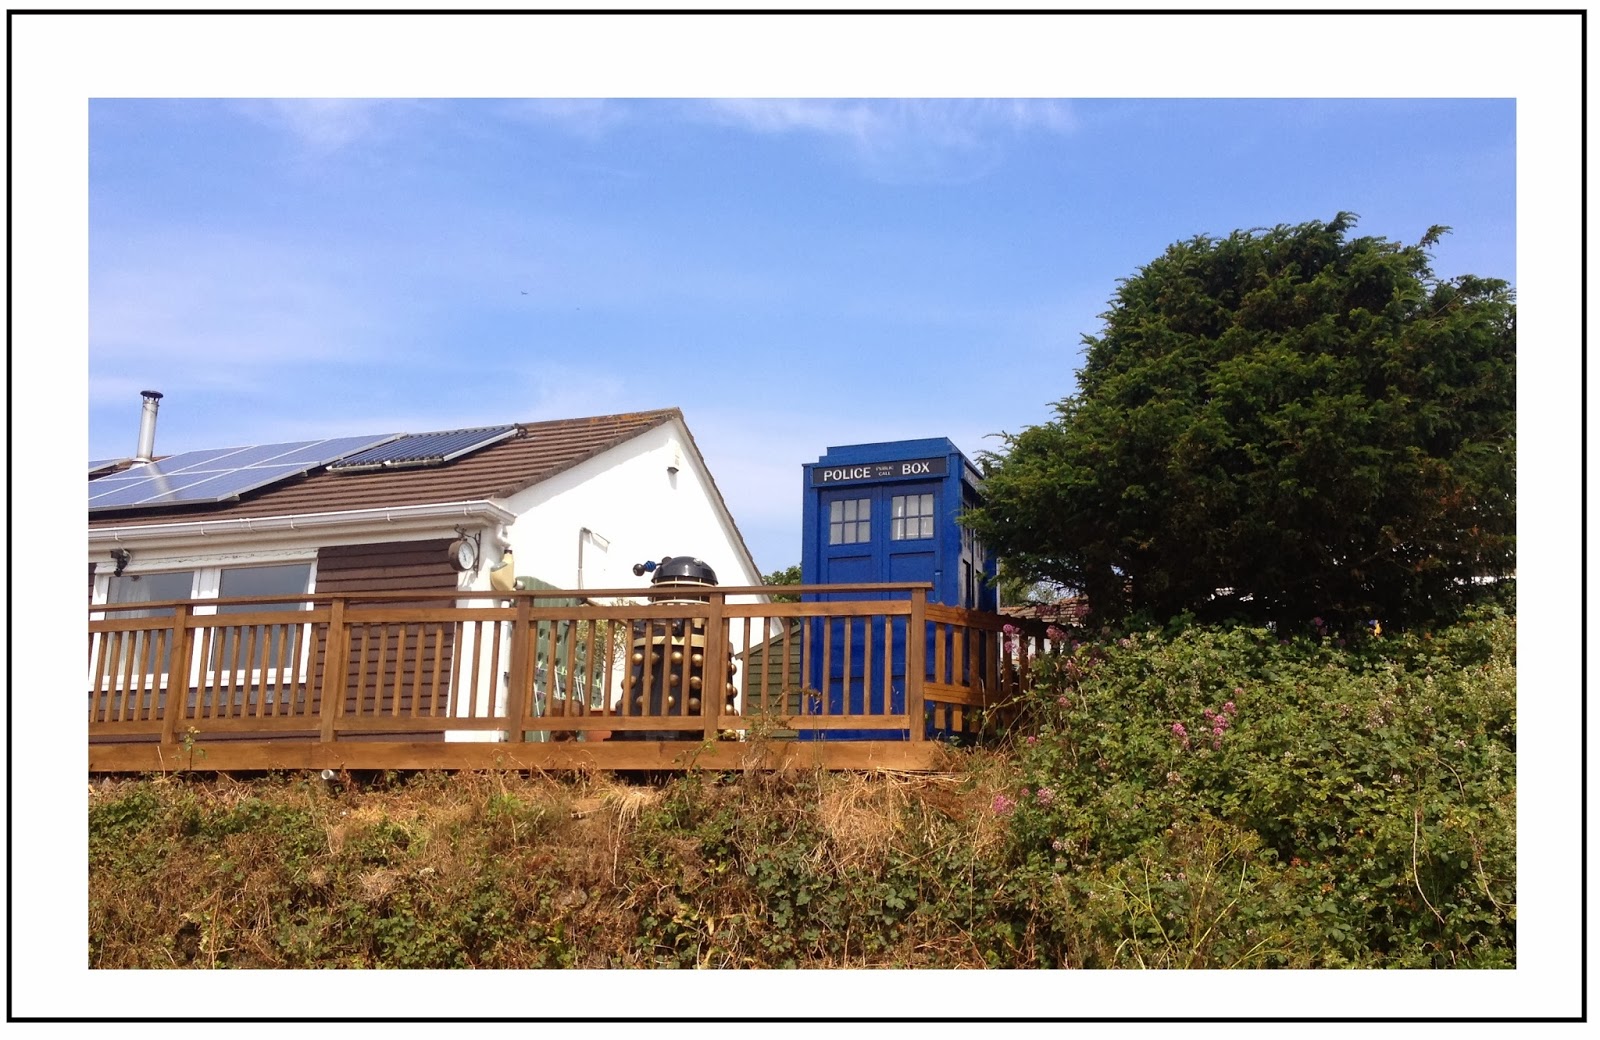
The original photo above “says” …bush, principally. This is what our eye is drawn to first of all. Try looking at the rest of the image and your eye keeps going back to the bush. Despite the fact that there is more interesting stuff there. Even when you focus on The Tardis, you can’t but help see the damn bush!
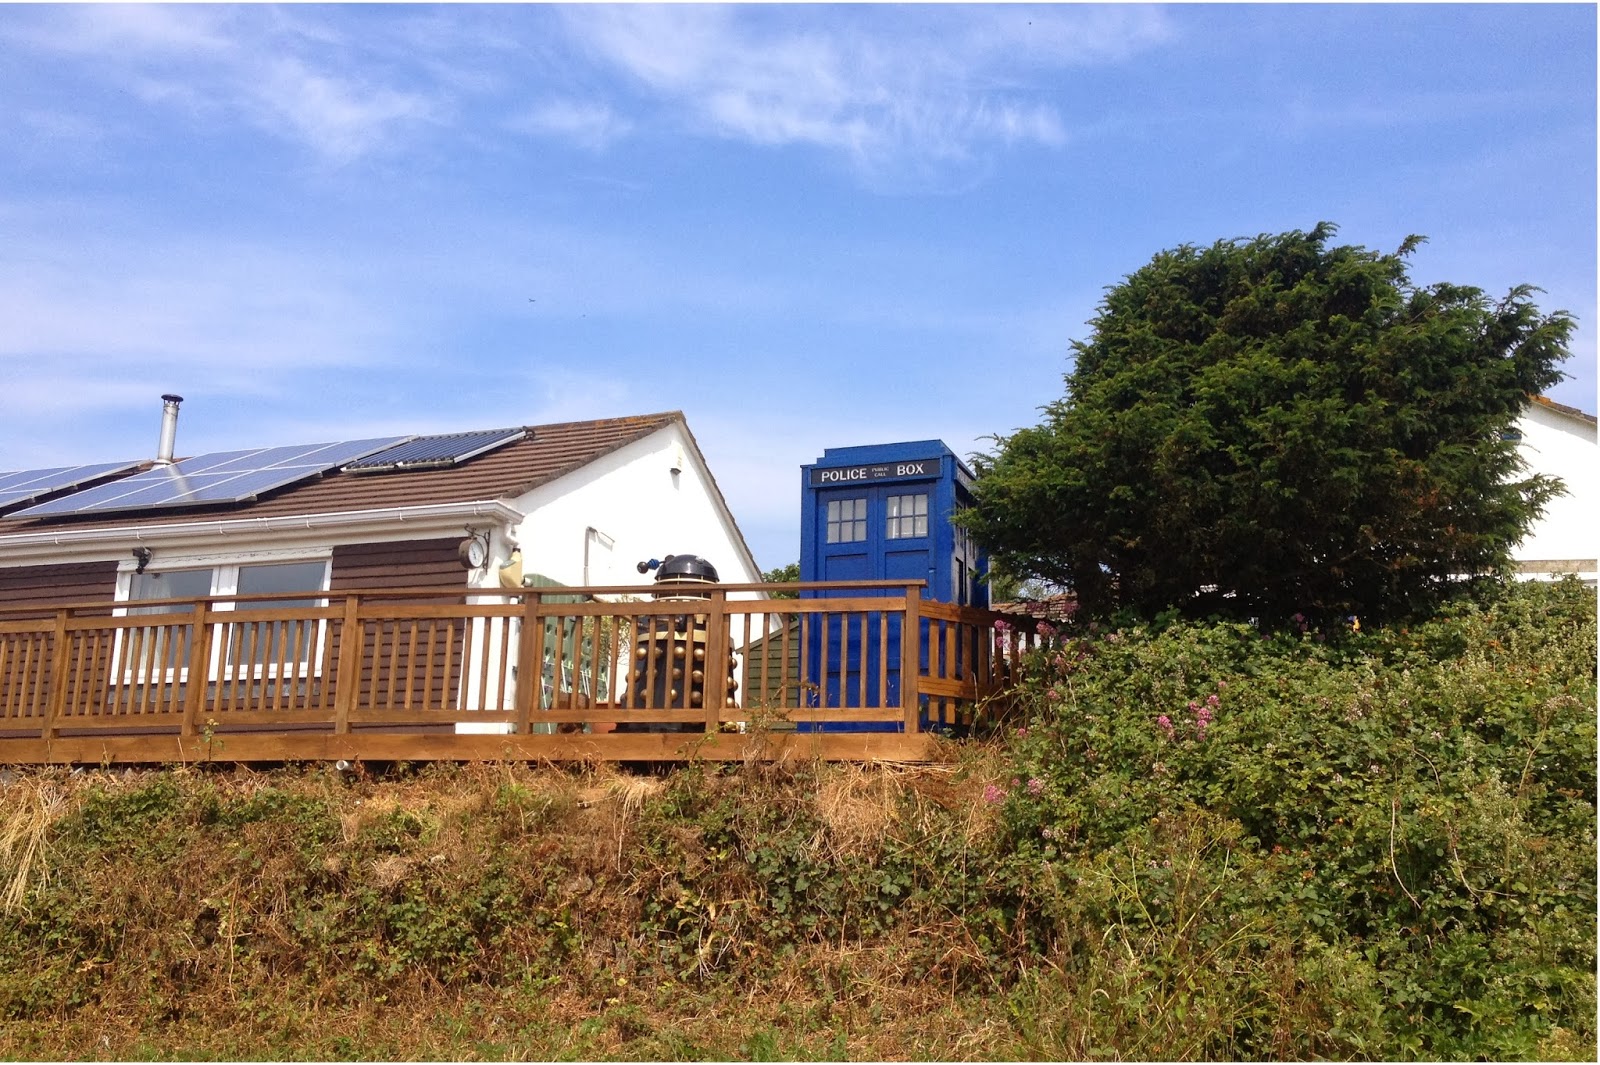
All the pictures below are taken from the same image above. Glance quickly at each and comment on what you “see” before scrolling down.

Tradis and..wow, look, there’s a Dalek!
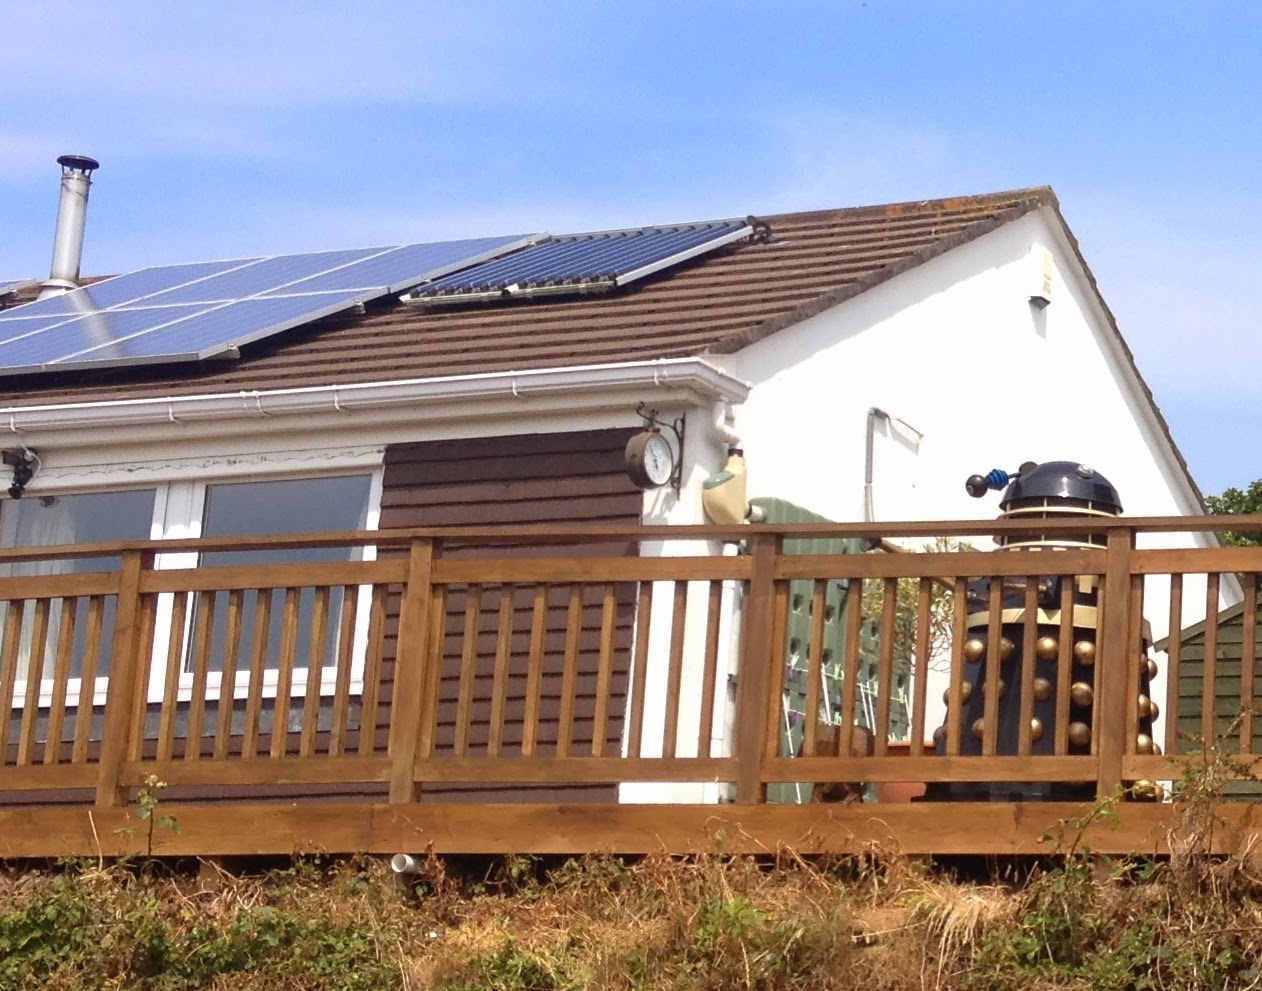
Dalek, strangely looking at…a clock. ?Time Lord??
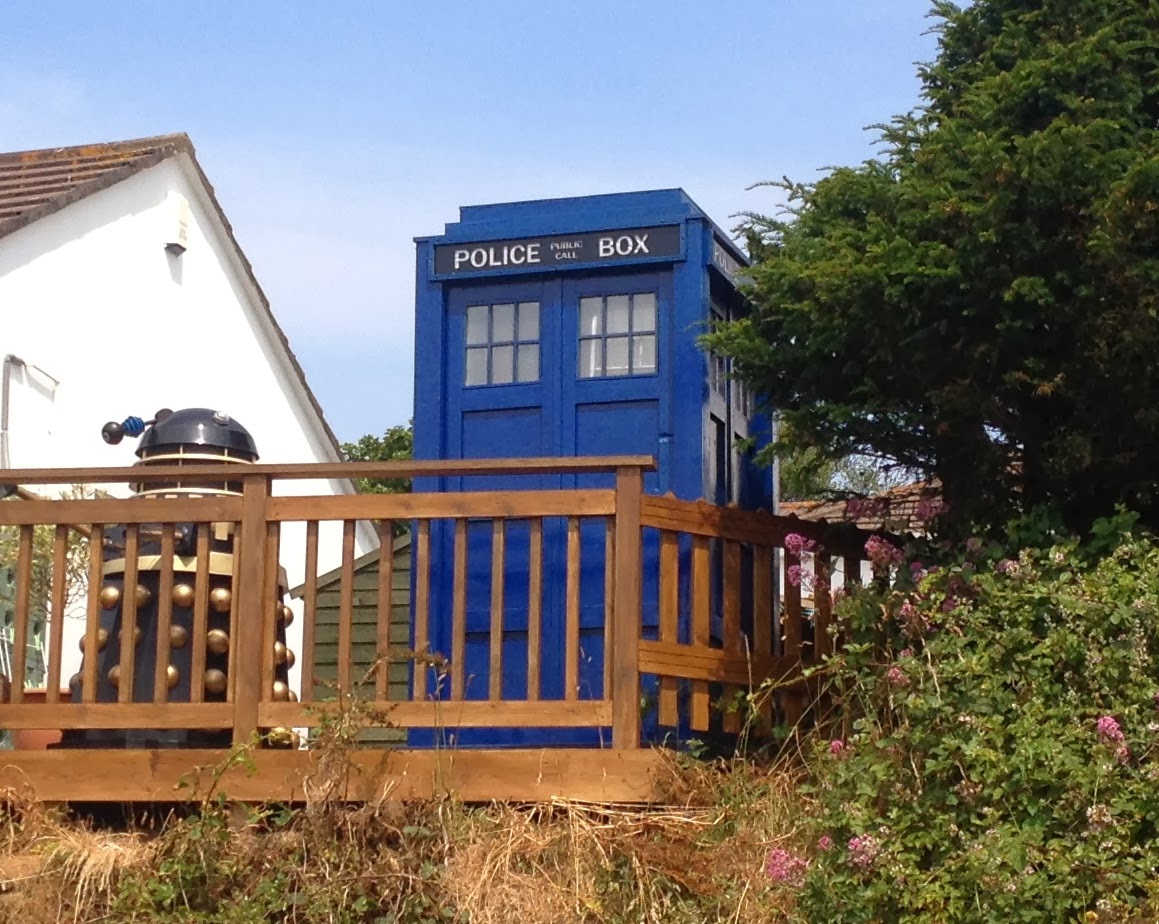
And this…well, that’s more complex again, isn’t it? But that’s for another post.
You may not have actually taken the photograph. I did. And I can tell you I was a little disturbed to find the Dalek wasn’t there the next day!! But you can alter its meaning for use within your presentation. Don’t just drop in any old picture, make it work to support your story.